There are many different styles of window, which means that there are various methods of installing DIY shutters.
We cover all these different ways in our installation tutorial guide, but here is a quick and short version to offer help.
Installing DIY shutters
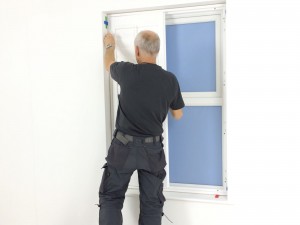
Our whiteshutters come pre-fitted within a 4-sided frame. The catches and hinges are all pre-installed so the only fitting that you need to do is installing the shutter frame into your recess.
You would have already decided where to fit the shutter frame when measuring, so the next step would be to locate the correct fitting guide to watch. We have detailed guides for Full Height, Tier on Tier and Tposts, in addition to tutorials that show you how to install into the window frame, sideways into the wall, or right at the front of the recess.
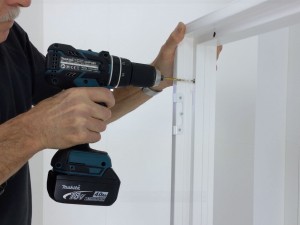
 In all cases, you will need to drill your fixing holes using a 10mm drill bit and a 4mm drill bit (our guide provides some useful links on the tools required).
 If you’re fixing sideways into the wall, then you may require masonry drill bits, raw plugs or plasterboard fixings. Fixing into the window frame is the easiest option as this does not require any special fixings.
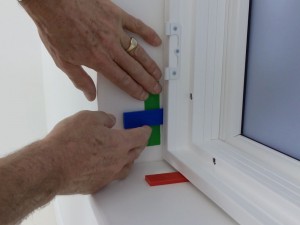
 Your frame needs to be installed to ensuring that the shutters fit squarely within the frame, so it’s best to try the shutters in the frame before or while fixing the frame to be certain that they line up.
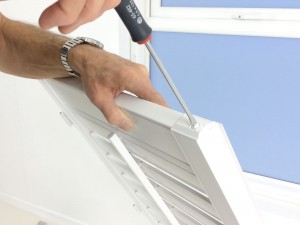
Once the frame is fitted, the shutters might need a little adjustment. This can be done by tightening or loosening the duracatches located in the top and bottom of each shutter pane.
Watch our detail video guides
Access all of our full and detailed fitting guides by signing up here.


